If you’re a fan of DIY crafts, especially fun and customizable projects, a perler bead board is an essential tool to add to your craft kit. Whether you’re creating cute keychains, wall art, fridge magnets, or gifts for friends and family, this versatile board makes it easy to design, arrange, and fuse your perler beads into perfect shapes. In this guide, we’ll walk you through everything you need to know about perler bead boards—how to use them, their benefits, pro tips, and creative ideas to get you started.
What Is a Perler Bead Board?
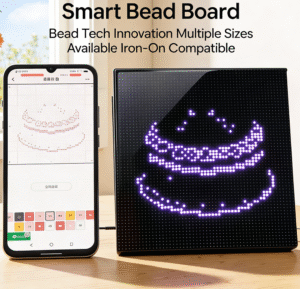
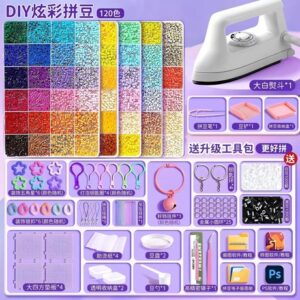
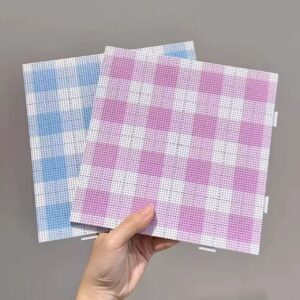
A perler bead board (also called a fuse bead board) is a flat, grid-based tool designed specifically for arranging small plastic beads (perler beads, hama beads, or melty beads) into precise patterns. Most boards are made of durable plastic, with evenly spaced pegs that hold the beads in place while you design. They come in various shapes and sizes—from small square boards (5×5 inches) for mini projects to large rectangular boards (12×12 inches or bigger) for more elaborate designs. The grid ensures your beads stay aligned, so you can create clean, symmetrical patterns without worrying about them shifting.
Why You Need a Perler Bead Board for DIY Crafts
While you might be tempted to arrange beads on a flat surface, a perler bead board offers unique advantages that make your crafting experience smoother and more enjoyable:
- Stability & Alignment: The pegs on the board hold each bead securely, preventing them from rolling or moving as you work. This is especially helpful for intricate designs with small details or curved lines.
- Versatility: Most boards are reversible or come with interchangeable templates, allowing you to create different shapes (squares, circles, hearts, stars) without buying multiple tools.
- Easy Transfer: Once your design is complete, the board makes it simple to transfer the beads to an ironing sheet for fusing. You can carry the entire board to your ironing area without disrupting your pattern.
- Suitable for All Ages: Kids and adults alike can use perler bead boards—they’re easy to handle, safe, and a great way to boost creativity, fine motor skills, and patience.
How to Use a Perler Bead Board (Step-by-Step)
Using a perler bead board is straightforward, even if you’re new to fuse bead crafts. Follow these simple steps to create your first project:
Step 1: Gather Your Supplies
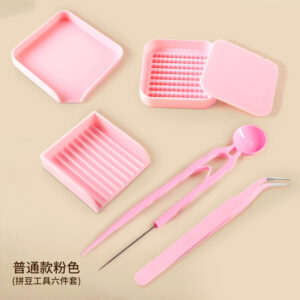
You’ll need: a perler bead board, perler beads (in your chosen colors), ironing paper (or parchment paper), an iron, and a pair of tweezers (optional, for small beads or precise placement).
Step 2: Prepare the Board
Lay your perler bead board on a flat, stable surface (like a table or desk). If your board has a template, place it under the grid (if transparent) to use as a guide for your design. For freehand designs, you can sketch a simple pattern on a piece of paper and place it under the board.
Step 3: Arrange the Beads
Pick up perler beads with your fingers or tweezers and place them on the pegs of the board, following your pattern. Take your time—this is where you can get creative with colors and shapes. If you make a mistake, simply lift the bead off the peg and reposition it.
Step 4: Fuse the Beads
Once your design is complete, cover it with ironing paper. Set your iron to a medium heat (no steam!) and gently press down on the paper for 10–15 seconds. Move the iron in small circular motions to ensure all beads are melted evenly. Flip the board over, remove the paper, and iron the other side for another 5–10 seconds to fuse the beads completely.
Step 5: Cool & Remove
Let the beads cool for 2–3 minutes until they harden. Once cool, gently peel your design off the board—it should come off easily, thanks to the board’s smooth surface. Trim any excess beads or uneven edges with scissors (if needed), and your project is ready!
Pro Tips for Using Perler Bead Boards
- For intricate designs, use tweezers to place small beads or fix misaligned ones—this saves time and reduces frustration.
- Don’t overheat the beads! Too much heat can melt them into a messy blob. Keep the iron moving and use medium heat.
- Store your perler bead board in a cool, dry place when not in use. Avoid dropping it or using sharp objects on the grid, as this can damage the pegs.
- Mix and match bead colors to create gradient effects or bold patterns—perler bead boards make it easy to experiment with color combinations.
- If you’re working on a large design, use a bigger board to avoid having to split the design into multiple pieces.
Creative Ideas for Your Perler Bead Board
The possibilities with a perler bead board are endless! Here are some fun project ideas to inspire you:
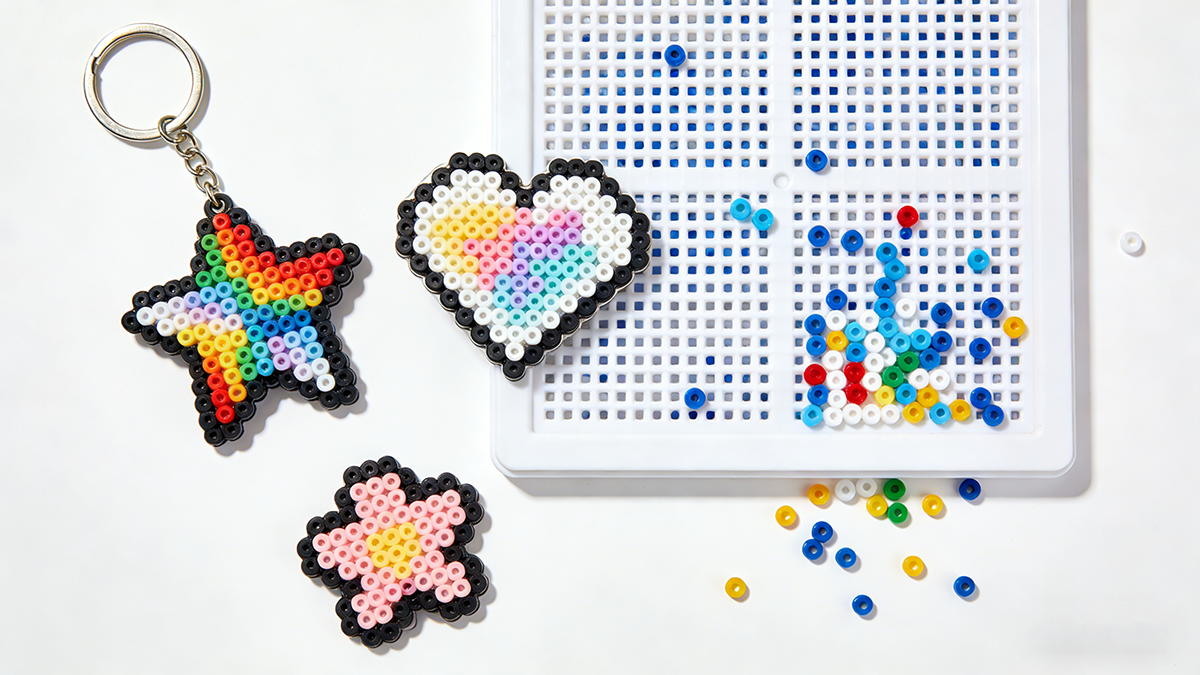
- Mini keychains: Create small shapes (hearts, stars, animals) and attach a keyring for a cute, personalized accessory.
- Wall art: Design larger patterns (flowers, quotes, cartoon characters) and frame them for a unique decor piece.
- Fridge magnets: Glue a small magnet to the back of your fused bead design for a fun fridge decoration.
- Gifts: Make custom coasters, hair clips, or phone charms for friends and family—they’re thoughtful and handmade.
- Holiday decor: Create Christmas trees, pumpkins, or Easter eggs for seasonal decorations.
Final Thoughts
A perler bead board is a simple yet powerful tool that unlocks endless creativity for DIY lovers of all ages. It’s easy to use, versatile, and perfect for creating unique, handmade projects that you can keep or gift. Whether you’re a beginner or an experienced crafter, adding a perler bead board to your collection will take your fuse bead projects to the next level.
Image Prompt (for Cover & In-Article Images)
Cover Image (1536×1536 pixels, English, E-commerce Style)
Professional perler bead board cover, clean bright craft table background, colorful perler beads arranged on a square perler bead board, DIY craft tools (tweezers, ironing paper) nearby, soft natural lighting, high resolution, minimalist design, top space for article title, English craft theme, vibrant but not cluttered.
In-Article Image (546×240 pixels, 2 Images)
1. Close-up of a perler bead board with a colorful animal pattern (e.g., a cat) made of perler beads, tweezers placing a bead on the peg, bright lighting, clear details. 2. Finished perler bead projects (keychain, magnet, small wall art) displayed next to a perler bead board, clean background, e-commerce friendly, high resolution.